
How to Make a Powerful Homemade Shower Cleaner with Just 3 Ingredients That Actually Works
Want a shower that gleams without laboring for hours? These three ingredients create a mighty cleaner you’ll actually enjoy using. FYI, you’ll wonder how you ever cleaned without it.
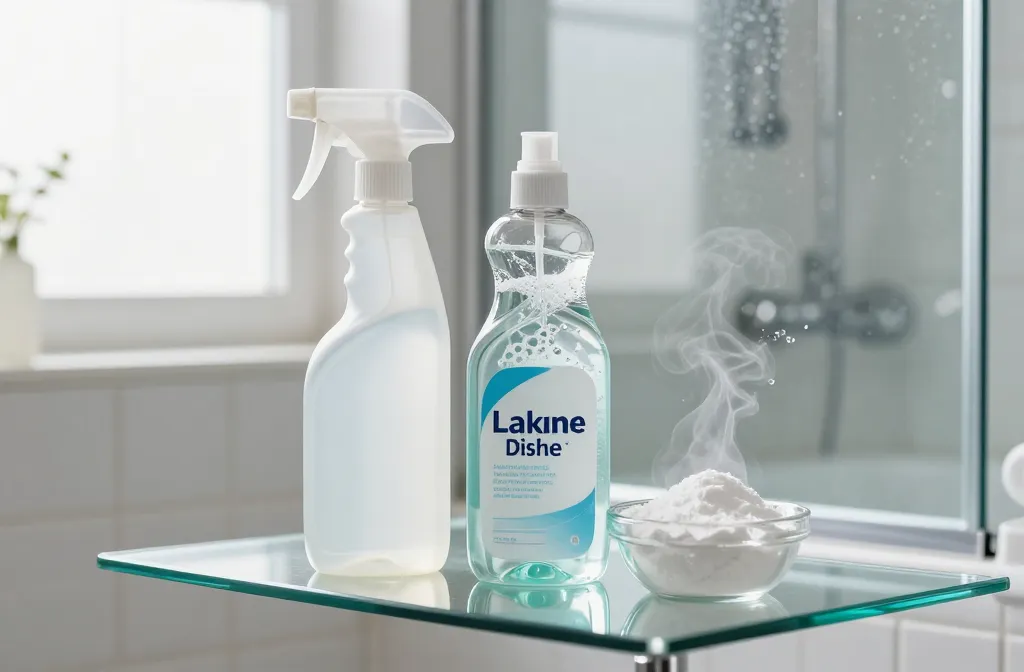
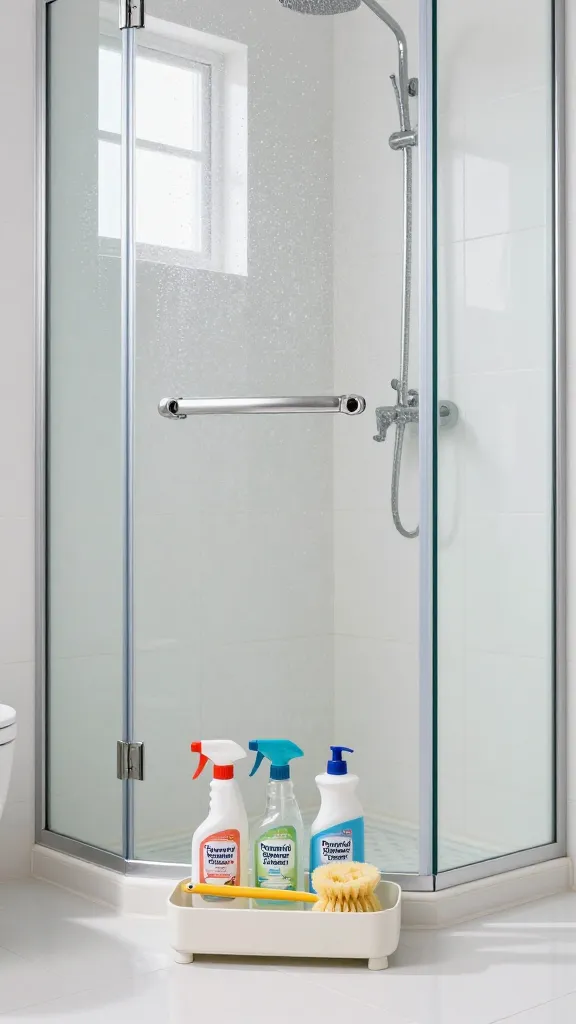
1. Meet Your 3-Ingredient Power Trio
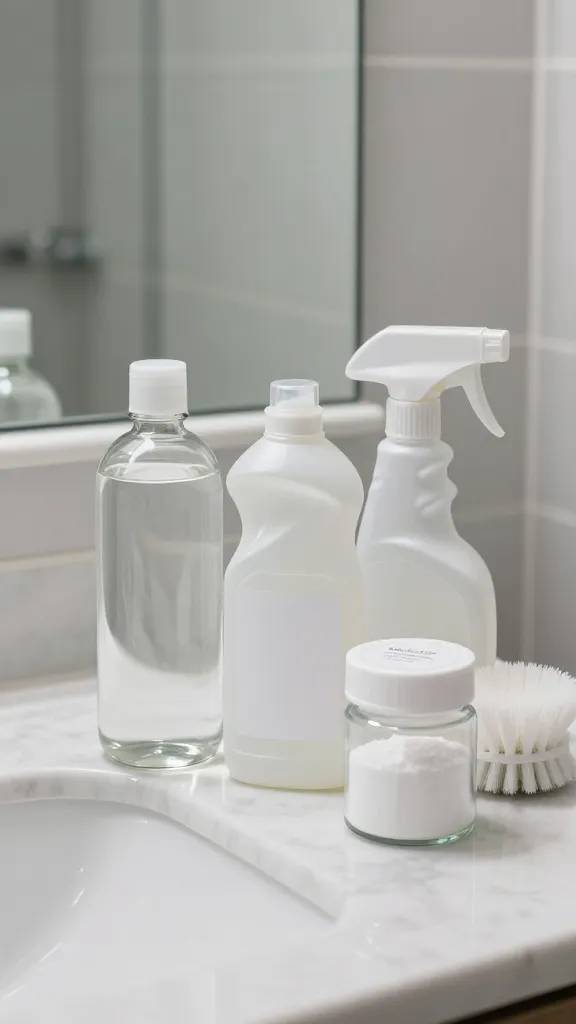
This section is all about naming and loving the simple lineup that actually works. You don’t need fancy chemicals or a full shelf of sprays—just three reliable basics that do the heavy lifting. Seriously, you’ll be amazed at how little it takes.
Key Elements:
- White distilled vinegar
- Liquid dish soap (a gentle formula works best)
- Baking soda
These three combine to lift soap scum, mineral deposits, and grime with minimal effort. Trust me, it’s not magic, it’s chemistry plus a little elbow grease.
Benefits: simple ingredients, budget-friendly, and a spray-and-swipe routine that actually sticks. Use this trio on glass, tiles, and metal fixtures to start.
2. The Cleaning Power Move: How to Mix Like a Pro
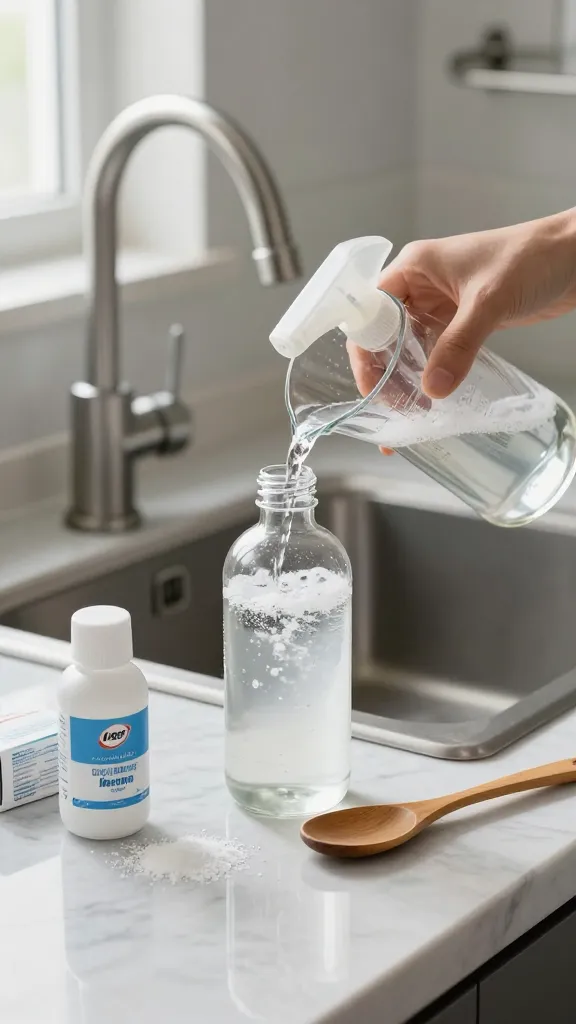
You’re not just dumping liquids together and hoping for the best. There’s a smart way to mix that maximizes cleaning power without making a mess. Ready for a surprisingly easy routine?
Tips & Techniques
- Start with vinegar in a spray bottle, then add a squirt of dish soap.
- Slowly whisk in baking soda to avoid overflowing fizz.
- Shake gently to blend after every use; this keeps the formula effective over time.
Why it works: vinegar loosens mineral buildup, dish soap cuts grease, and baking soda acts as a gentle scrubber and deodorizer. It’s a trifecta you’ll actually want to use regularly.
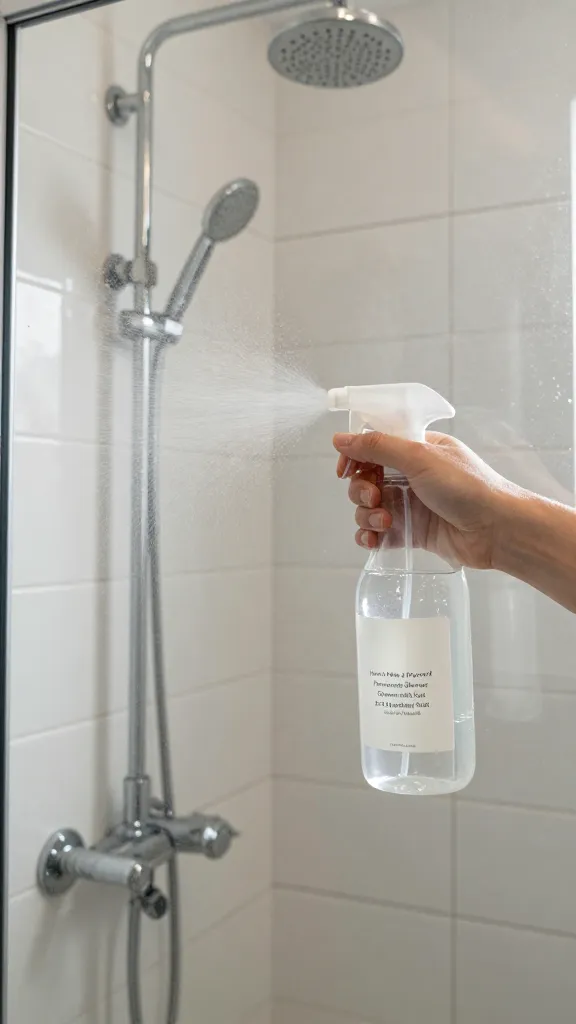
3. Application Tips That Save You Time
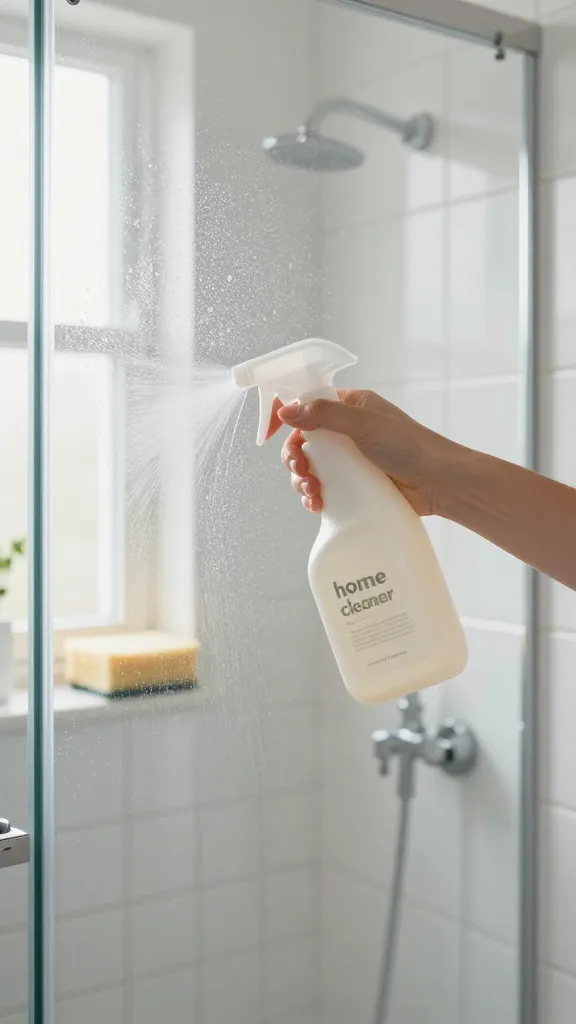
Let’s talk method. The right application routine turns this cleaner from “meh” to “wow” in minutes. You’ll be amazed at how fast your shower shines with minimal effort.
How to Apply
- Spray a generous coat on glass doors and tiles after each shower.
- Let it sit for 3–5 minutes; the magic happens while you stretch or wipe other surfaces.
- Scrub with a non-scratch sponge, then rinse with warm water.
Tip: Focus on the corners and grout lines where soap scum loves to cling. FYI, maintaining a quick wipe-down routine prevents buildup from sneaking back in.
End result: a cleaner shower with less effort, more confidence, and fewer excuses to skip cleaning sessions.
4. Practical Tweaks for Different Surfaces
Your shower isn’t one-size-fits-all, so tweak the formula a bit to tackle different materials without damage. This keeps your surfaces happy and your cleaner effective.
Quick Adjustments
- Glass and tiles: go with the standard 1:1 vinegar-to-water spray (optional: add a few drops of essential oil for scent).
- Metal fixtures: avoid prolonged contact with baking soda; a quick spray and wipe works best, then rinse thoroughly.
- Porous grout: use a gentle scrub and a second application if needed.
Why bother? Different materials respond differently to cleaners; these small tweaks prevent dulling or corrosion while keeping the payoff high.
5. Maintenance Mindset: Keep the Sparkle Going
Cleaning isn’t a one-and-done deal. A smart maintenance rhythm keeps your shower gleaming with minimal effort. Think of this as your quick-habits playbook.
Smart Habits
- Spray after each shower, then rinse every few days to prevent buildup.
- Keep a small scrub brush handy for stubborn spots; don’t let them win.
- Store ingredients in accessible spots so you actually use them—no more hunting for supplies.
When to use this routine: after spa-worthy showers, when you notice a light film forming, or when guests are about to drop by and you want that “wow” moment in the bathroom. Trust me, it’s worth it for the confidence boost alone.
Conclusion: Ready to try this three-ingredient powerhouse? Grab vinegar, dish soap, and baking soda, and you’ll be on your way to a shower that gleams with minimal effort. You’ve got this—go make your bathroom sparkle and enjoy the cleaner, brighter space you deserve.